How many times have you heard the phrase a picture is worth a thousand words? In today’s world of constant social media interaction, that saying is truer than ever. Photos, especially photos of food, have become a major part of all social media interactions, especially on Instagram. Now it isn’t like you can just slap up any old photo on your profile and call it a day. The higher quality and more interesting the photos, the more likely they are to be shared and bring customers in your door. But food photography can be challenging, so we’ve put together some helpful tips to have your business putting its best foot forward.
Ideal Lighting
Lighting is probably one of the most important aspects of taking a good photo. If you are able, try to use natural light with indirect sun. This will have your food looking its best, showing off its natural colors, and avoiding harsh shadows. Placing food on a table next to the window is a great way to achieve natural but indirect light. Food placed under fluorescent lighting tends to change tones and colors.
While natural light is best for photos, it isn’t always realistic in restaurants where ambiance and mood lighting are important, and probably dimmer than what you would like. If your restaurant doesn’t have access to natural lighting, you can purchase some equipment to get you closer to achieving great lighting. The Wescott 43” Apollo Orb is a relatively inexpensive option that will get the job done.
Tip: Many commercial table tops will be reflective. Watch out for this when lighting your photos, you don’t want it to distract from the food.
The Perfect Angles
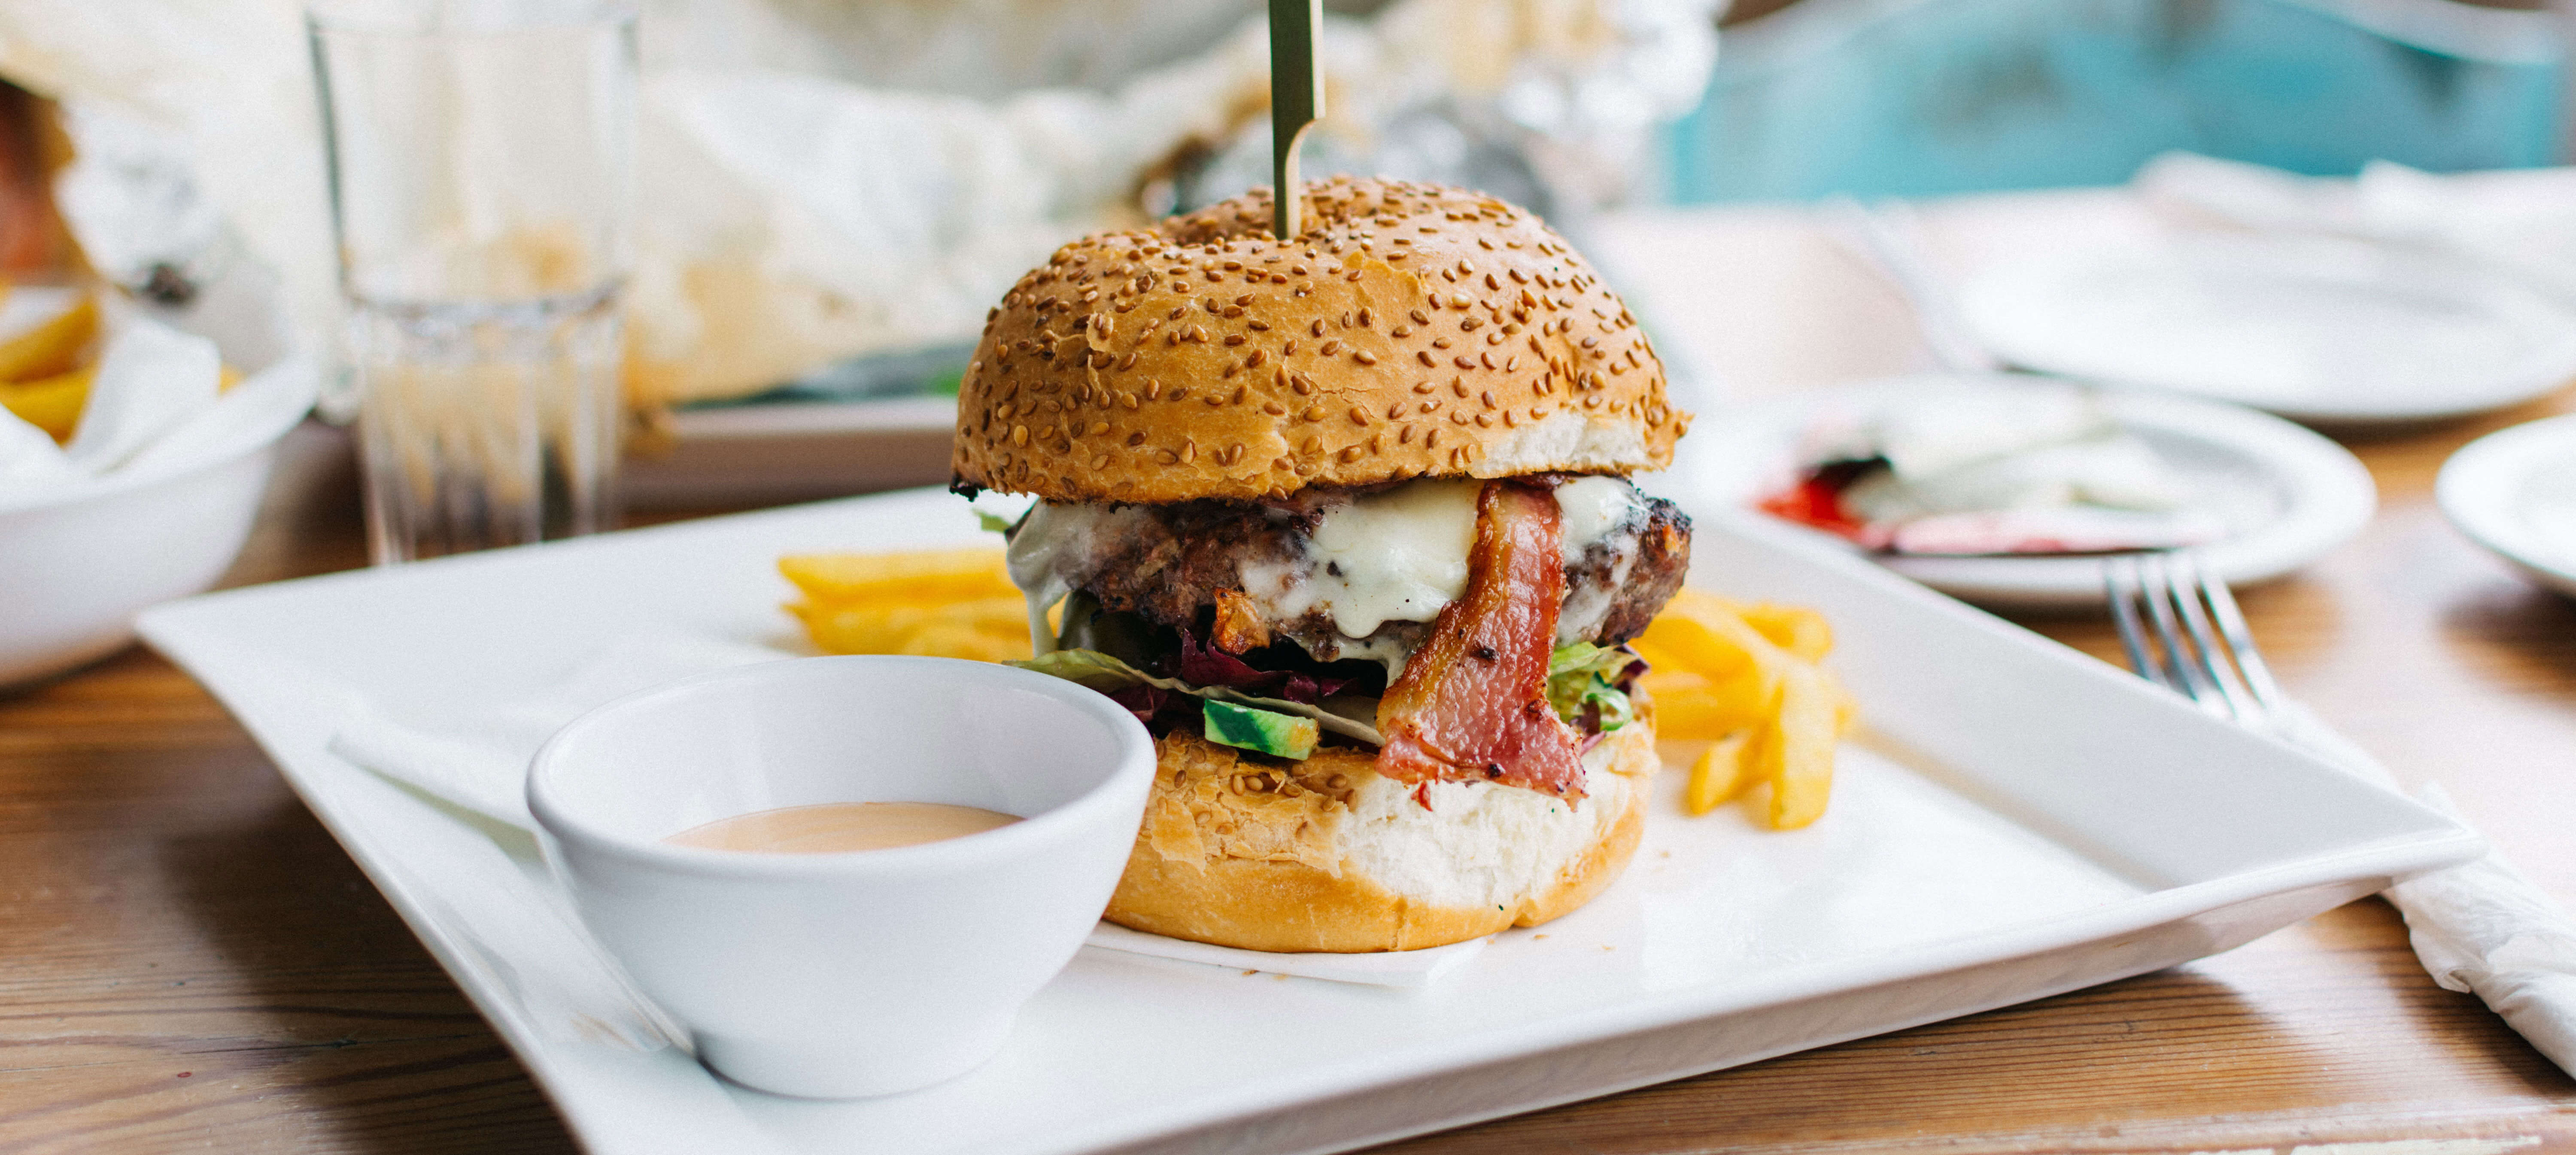
Different angles capture the distinctive components of varying types of food. For example, a plate of grilled chicken and sides might be best shot from above. This will showcase the entire plate and let customers know exactly what they are getting. Items that stack, like burgers and pancakes, are better shot at a 45-degree angle. This showcases the layers and all the goodness in-between. Having photos that vary the angle also help to create variety and interest when you post them to your social accounts or use them in your menu.
Tip: Try to work in triangles. Items shot in groups of three, creating triangles helps to create structure and simplicity.
Staging Your Food
Staging your photos allows you to put your very best foot forward. That being said, staging should complement your food rather than overwhelm it. There are a few things that you can do to present your food in the best possible way. First thing is to make sure that the area you are taking the photo in is clean. Nothing is worse than having great looking food surrounded by crumbs or other unsightly things. It can really ruin the vibe of the photo and distract from the focal point.
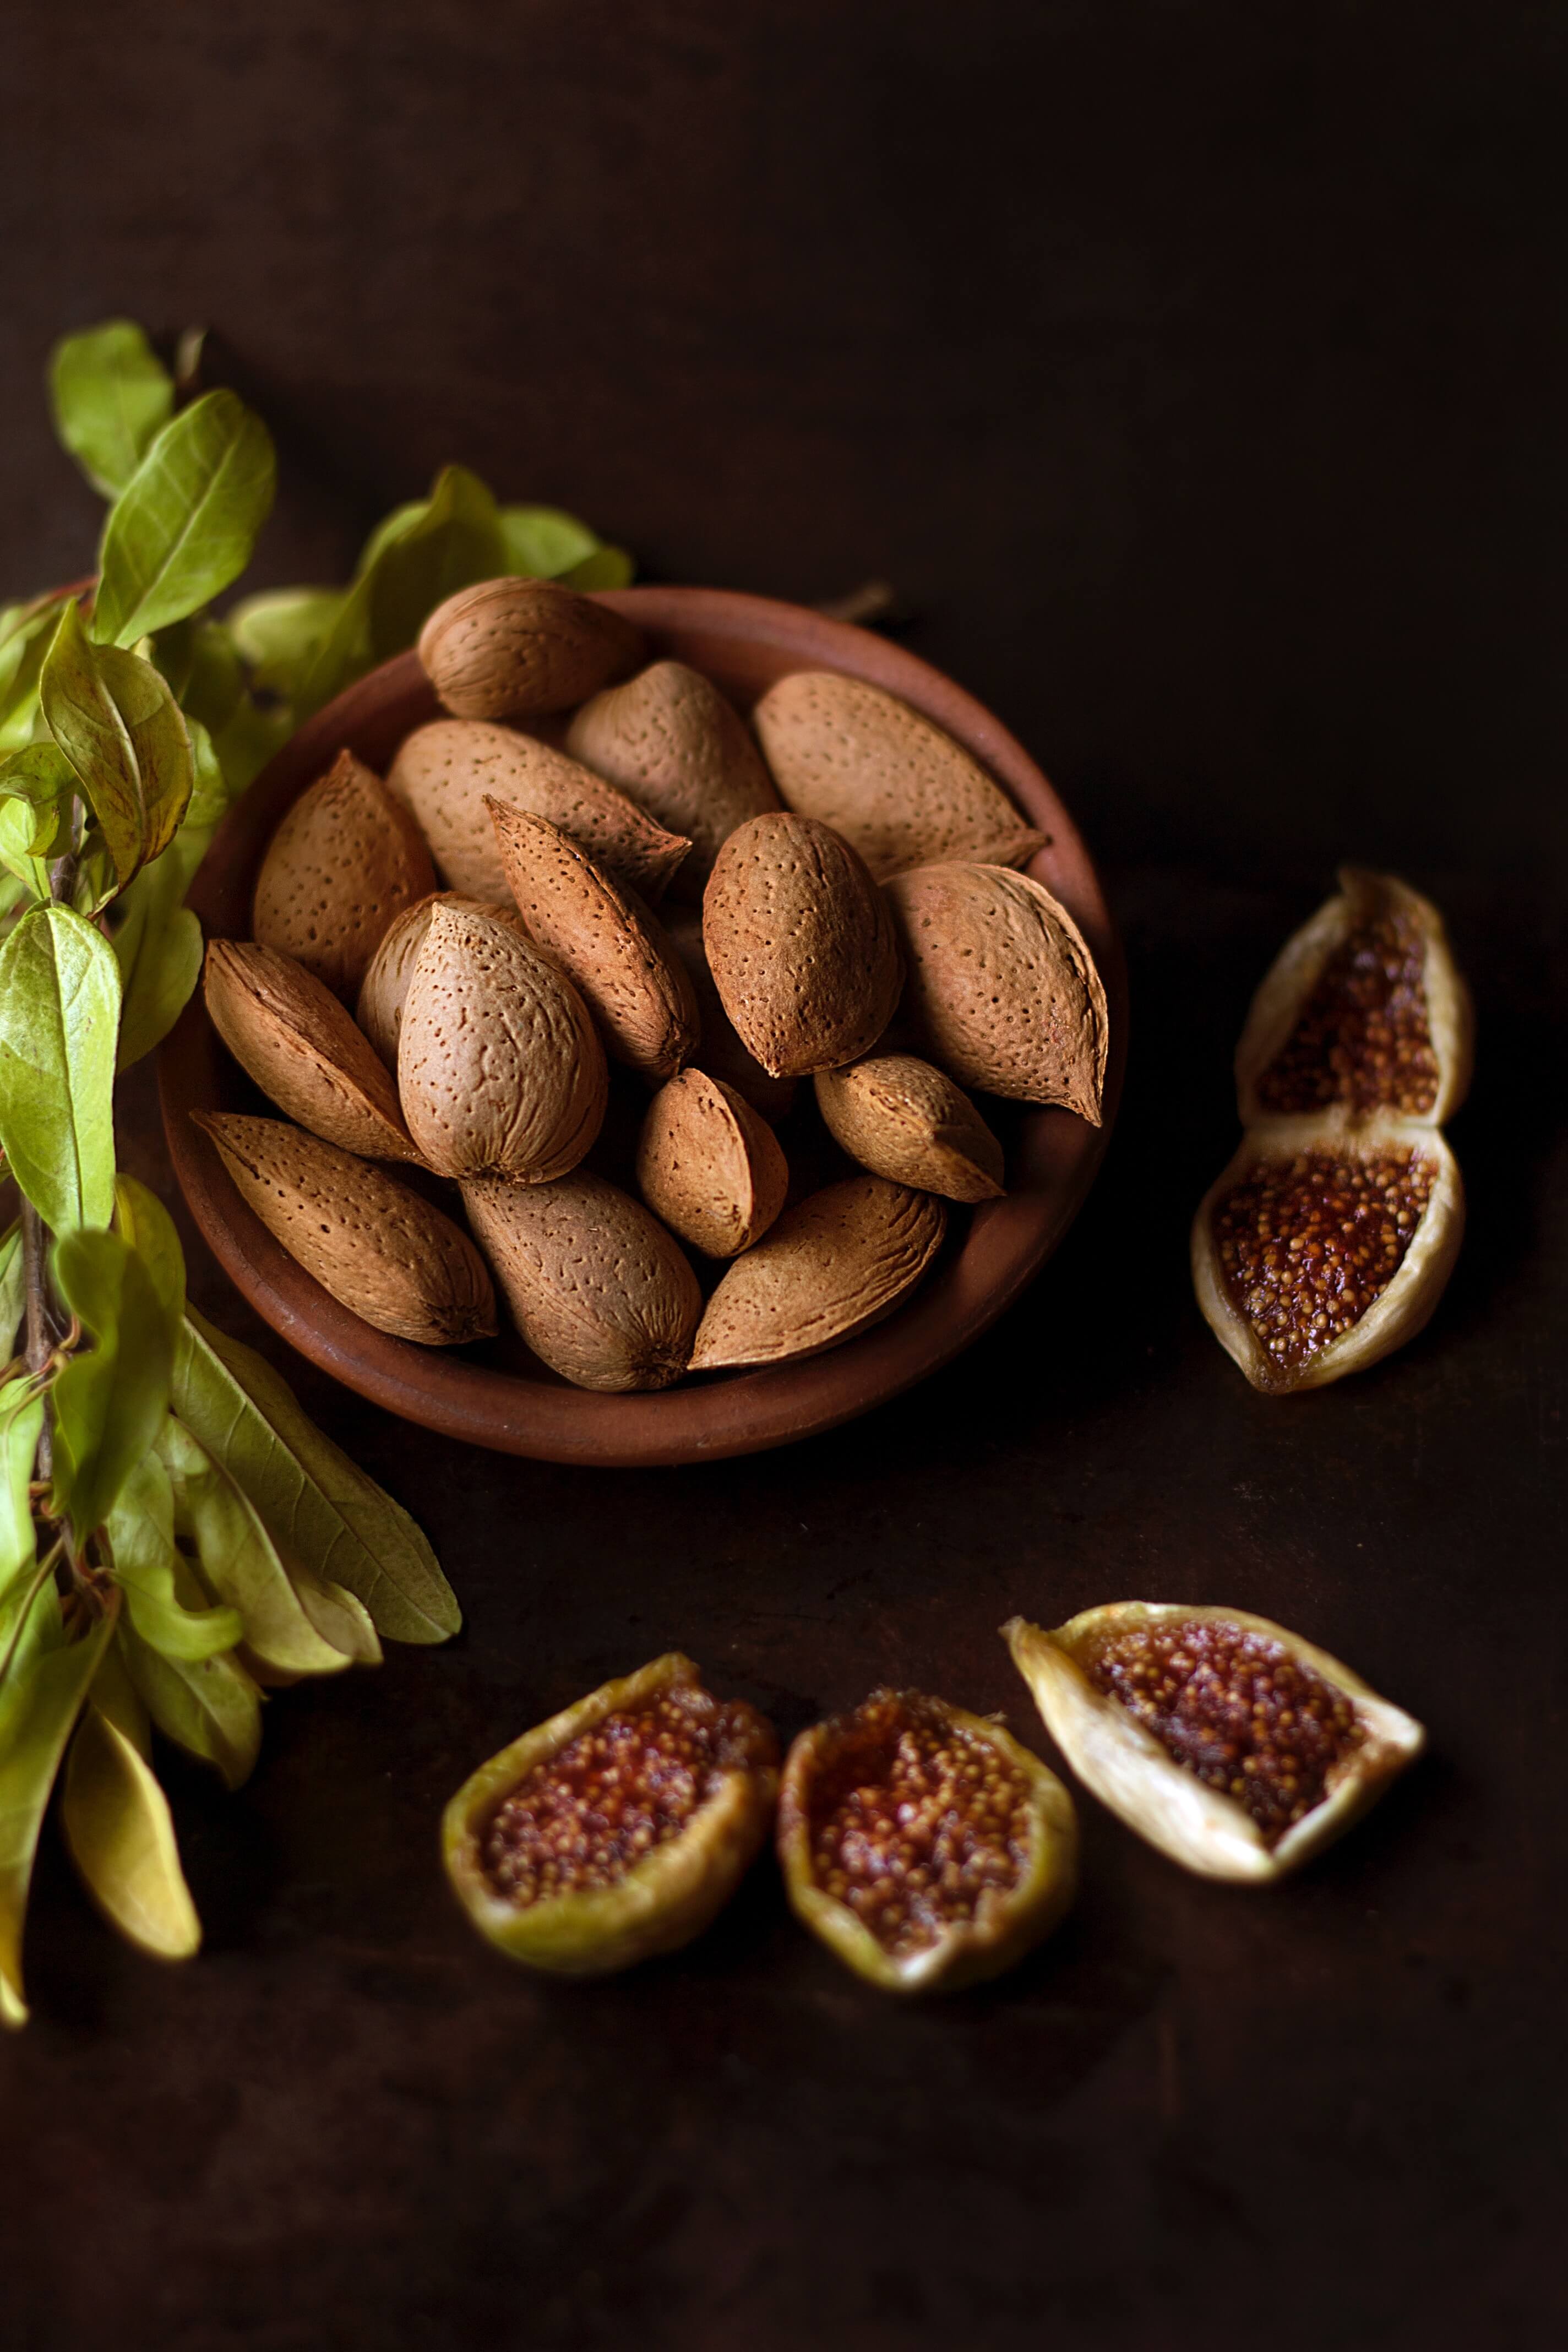
The second thing is to switch up your props and backgrounds. Keeping it the same all the time is going to make your photos become boring after a while. If you find yourself in a slump, you can go to the nearest hardware store for some materials with different textures that you can place your plates on.
Finally, take a moment to make sure your food is looking its best is crucial. Adding a little garnish can go a long way. If you find your food looking a little lackluster, you can brush a bit of oil or water to make things look fresh. Don’t overdo it though.
Tip: For inspiration on staging, find a few Instagram accounts that you love and try to emulate their work.
Benefits of Action Shots
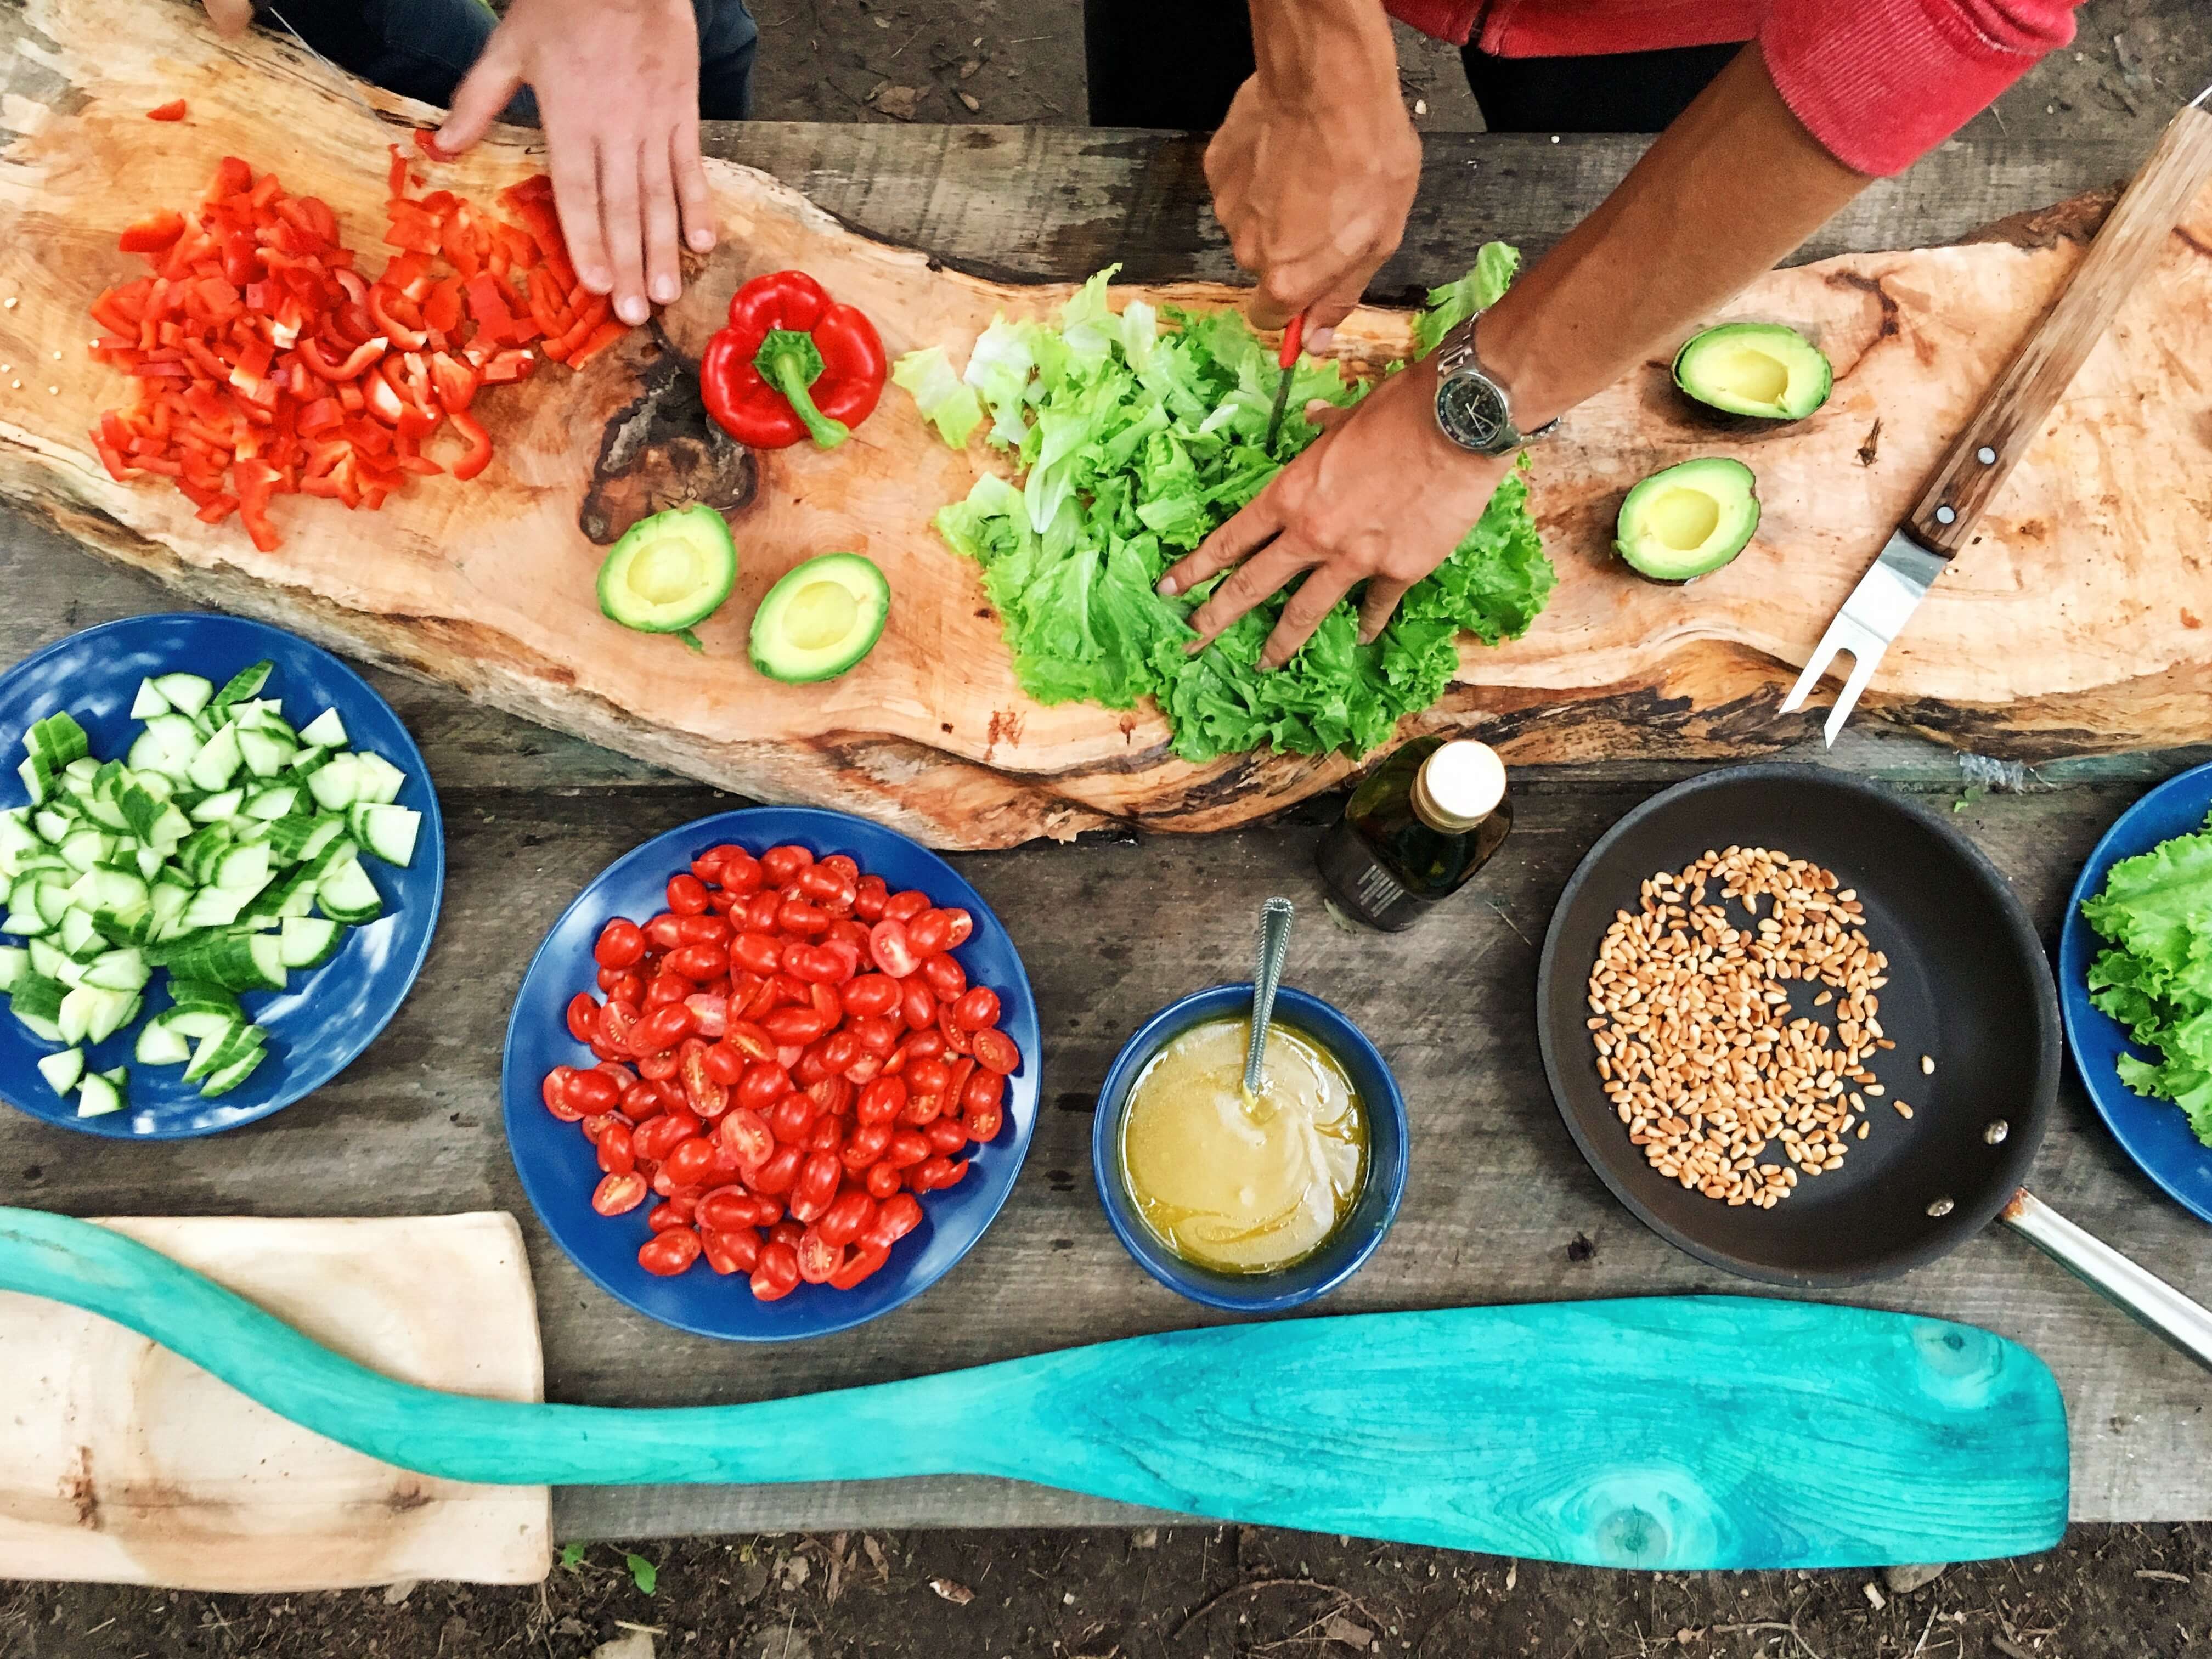
Actions shots are a great way to diversify photos and add some interest. A creative way to get these is with a few behind the scenes photos. Your chef stirring up a batch of soup or about to slice some ingredients for your signature dish is an engaging way to let your customers see what goes on in the back and get them craving your food.
Tip: Action shots are also great for adding a human element. It helps to tell your story so don’t be afraid to include hands in some of your food photos.
Editing
The amount of editing you do is entirely up to you. If you choose to edit your photos, there are plenty of free or low-cost editing apps that you can utilize. Depending on the amount of time you spend taking photos and editing, you might want to consider installing Adobe Photoshop or Lightroom. These programs have long been recognized as the top editing software.
Tip: Try not to over edit your photos. To much editing will look fake and potentially tacky.
Branding
Just like everything else in your restaurant, your photos should work within your overall brand design. If your restaurant is a bright breakfast spot it wouldn’t make sense for all of your photos to be dark and dreary. However if you are a romantic little bistro with mood lighting, darker photos might feel just right. Before posting any photo be sure to ask yourself if it is sending the message that you want.

Terms & Concepts
If you are an inexperienced photographer or a pro who needs a refresher here are some photography terms and concepts to keep in mind when shooting. While following some of these concepts might elevate your photos, that doesn’t mean you have to stick to them. Use your own creativity and see what you come up with!
Depth of Field: The distance between the nearest and furthest objects where objects appear acceptably sharp in an image and in focus. By adjusting your depth of field, you can really make it clear to the viewer what you want to be the focal point of the picture.
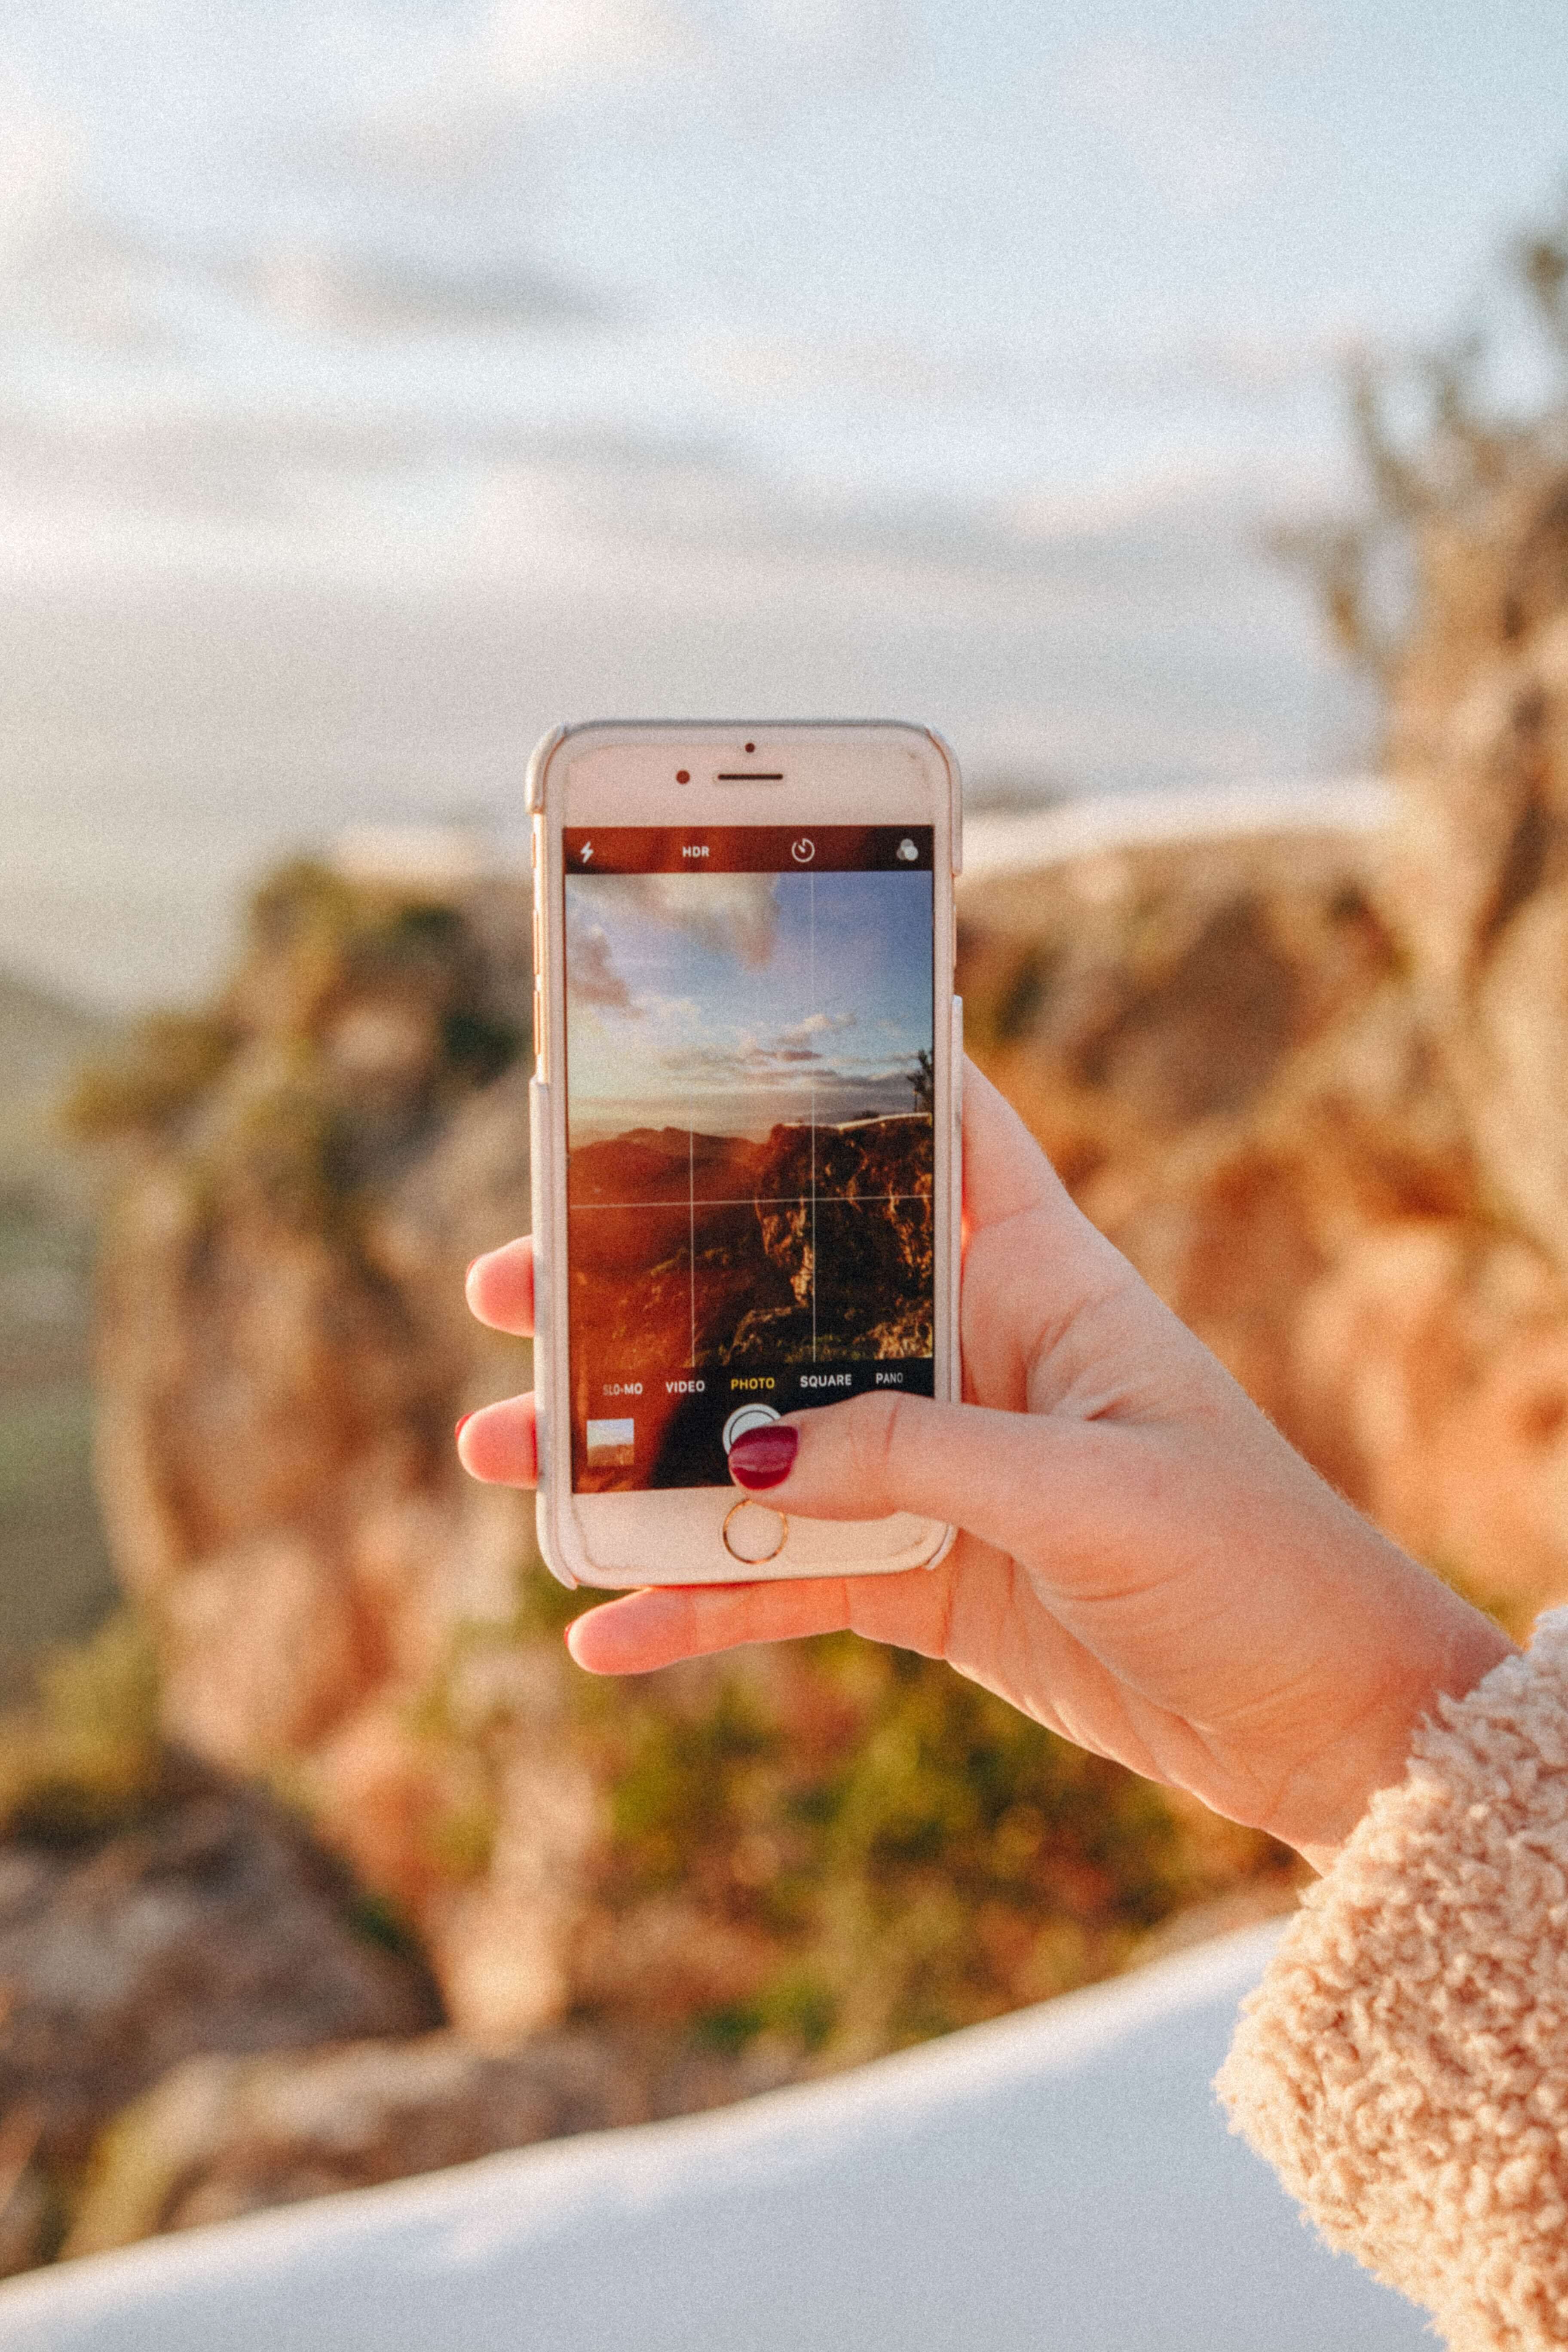
Rule of Thirds: A guideline that proposes an image should be imagined as divided into nine equal parts and that compositional elements should be placed along the lines for a more balanced photo.
Bokeh: The out of focus blurred parts in a background.
Exposure: How light or dark an image is.
Aperture: The size of the opening in the lens. The larger the opening the more light allowed into the lens.
Photos are a universal language that doesn’t need a translator. They are an effective way to communicate to customers and entice them to come to your restaurant. Food photography might seem intimidating, but by ensuring that you have good lighting, interesting content, and some creative thinking, you’ll be well on your way to showcasing your food and your restaurant in the best way possible.
Do you have any food photography tips for us? Let us know in the comments!

